Workflows
Workflows are visual automations that chain together AI prompts, integrations, and logic into multi-step processes. Build once, then run consistently -either manually, on a schedule, or triggered via API.
Think of workflows as connecting Lego blocks. Each node does one thing: run an AI prompt, check a condition, loop through a list, query a database, call an API. Connect them together and you've automated what used to require multiple manual steps.
When you open the workflow builder, you see a canvas where you drag, drop, and connect nodes. The workflow executes from top to bottom, passing data between steps. The output of one node becomes the input for the next.
Workflow Power Features
Visual Canvas - Drag, drop, and connect nodes to design your automation. Reorganize anytime by dragging nodes around or using the auto-layout button.
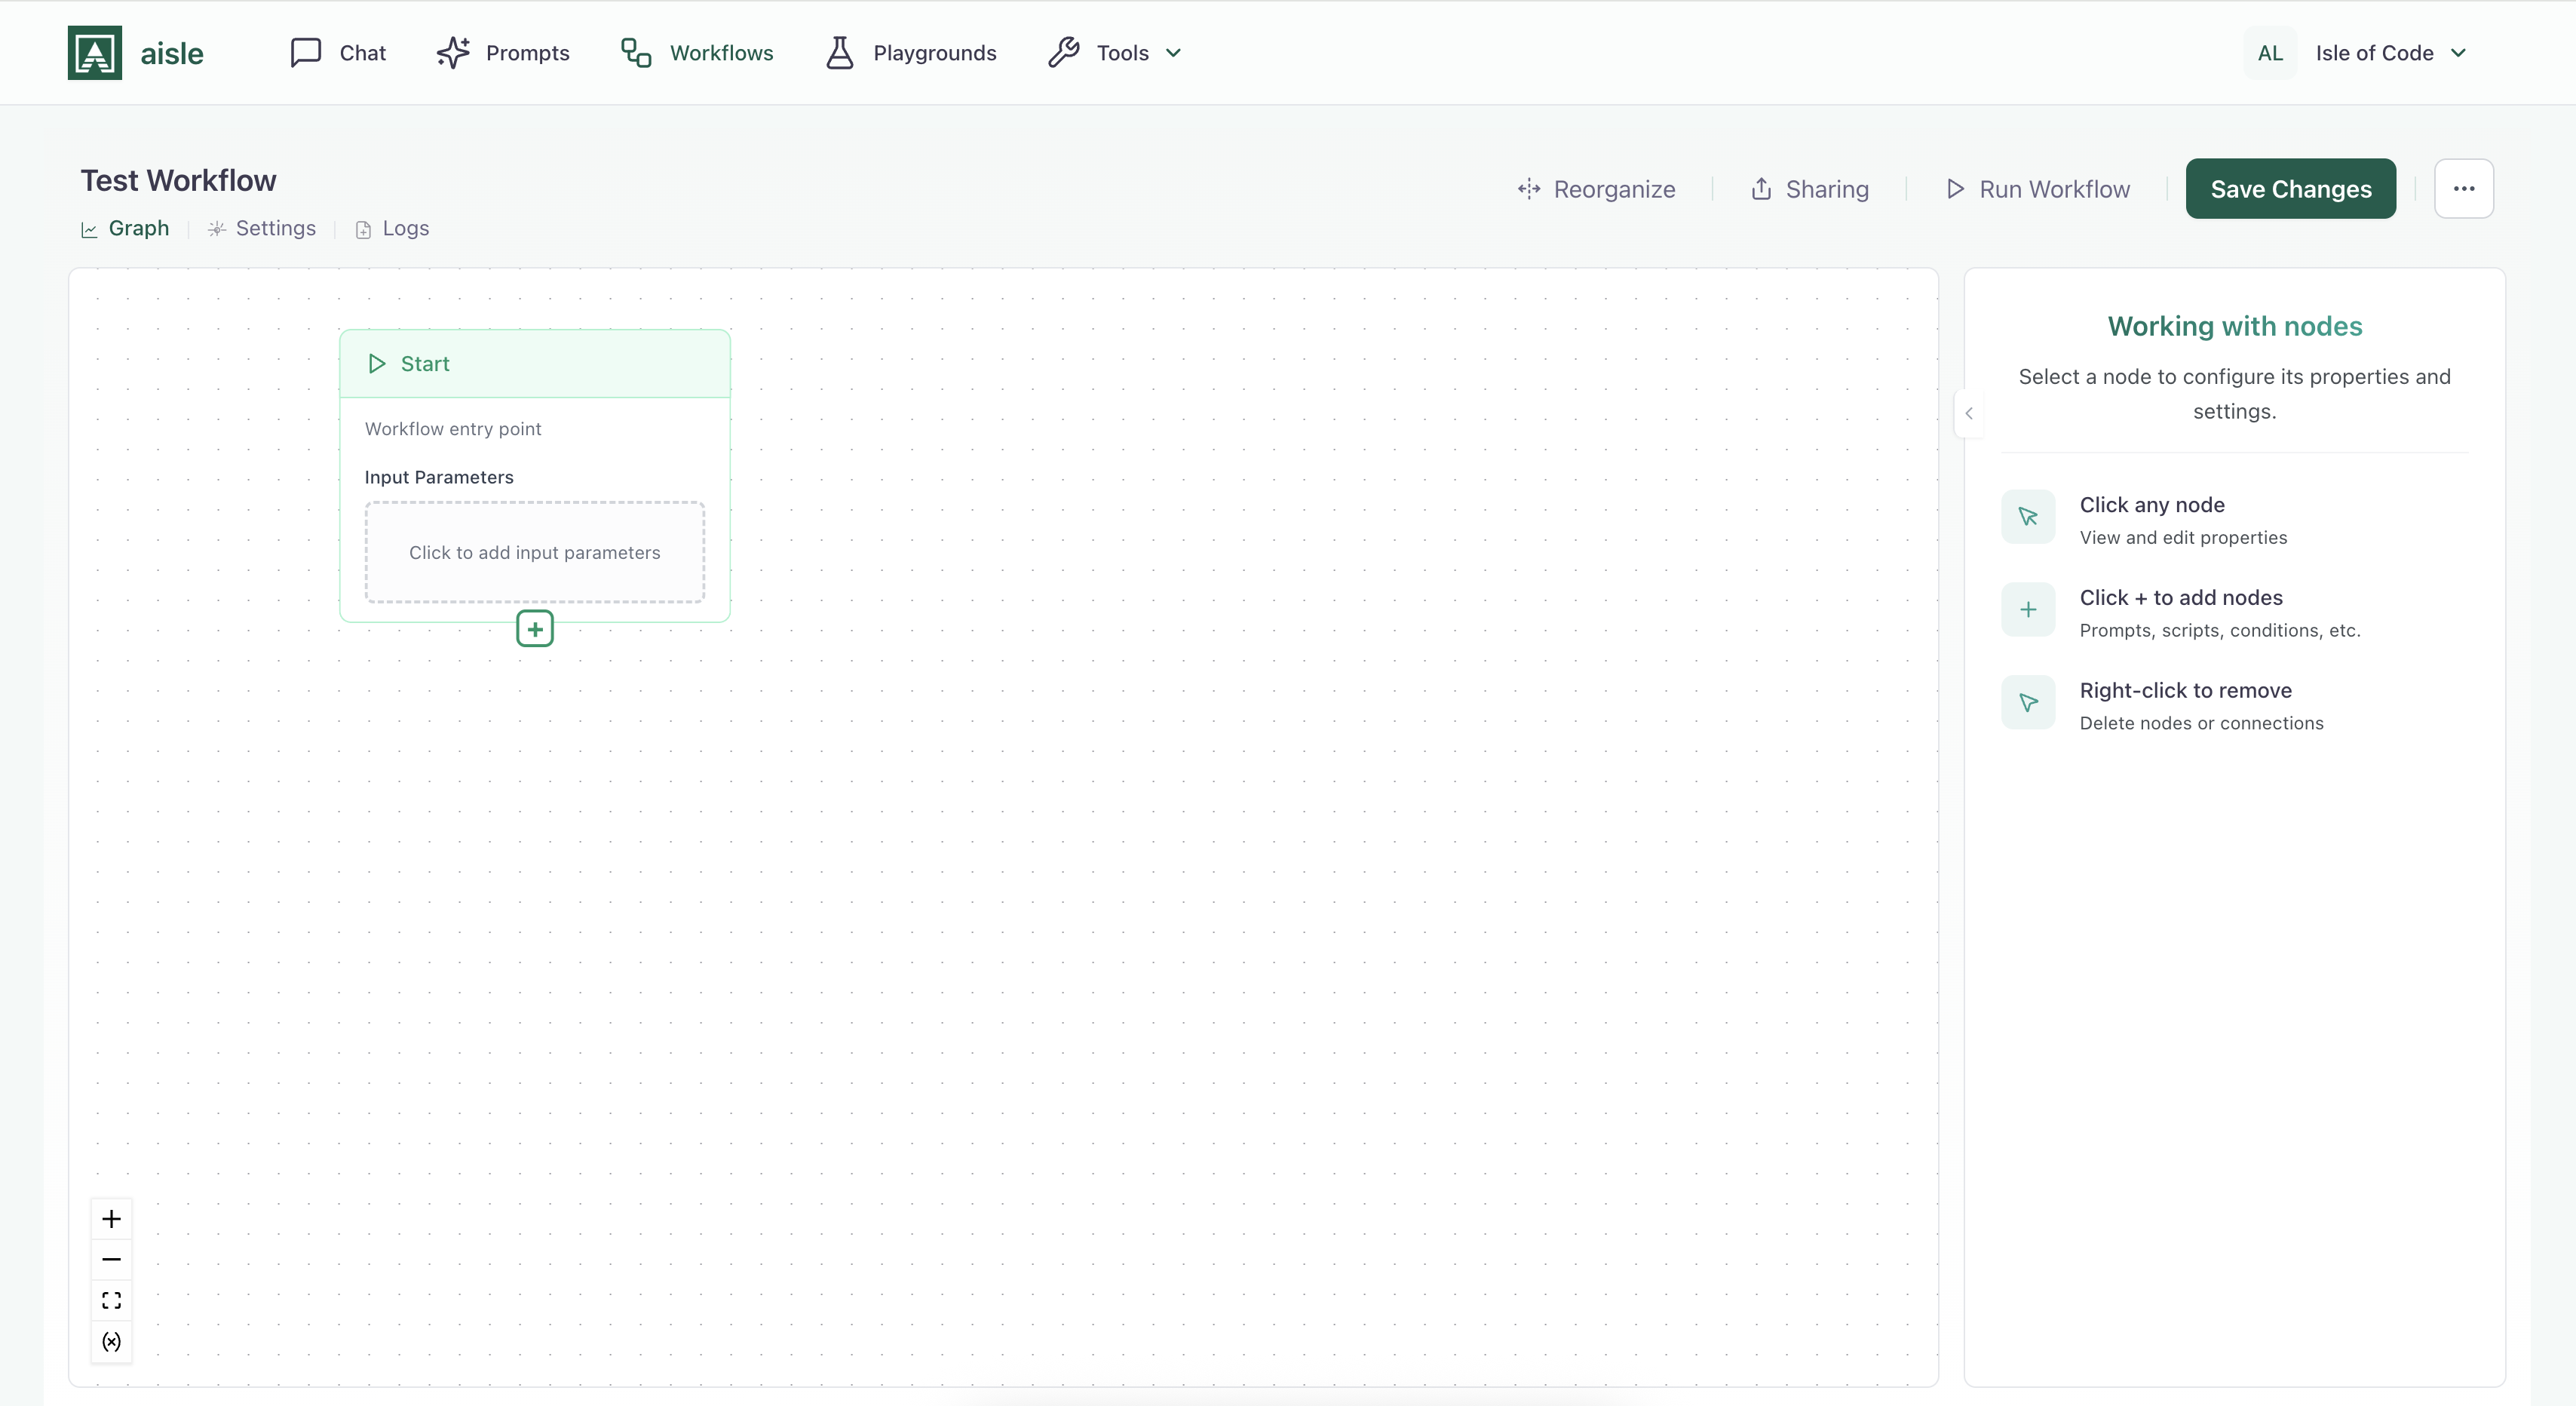
Start Node - Define what inputs your workflow needs (text, numbers, files, lists). Like creating a form that users fill out when they run the workflow. See Workflow Variables for details.
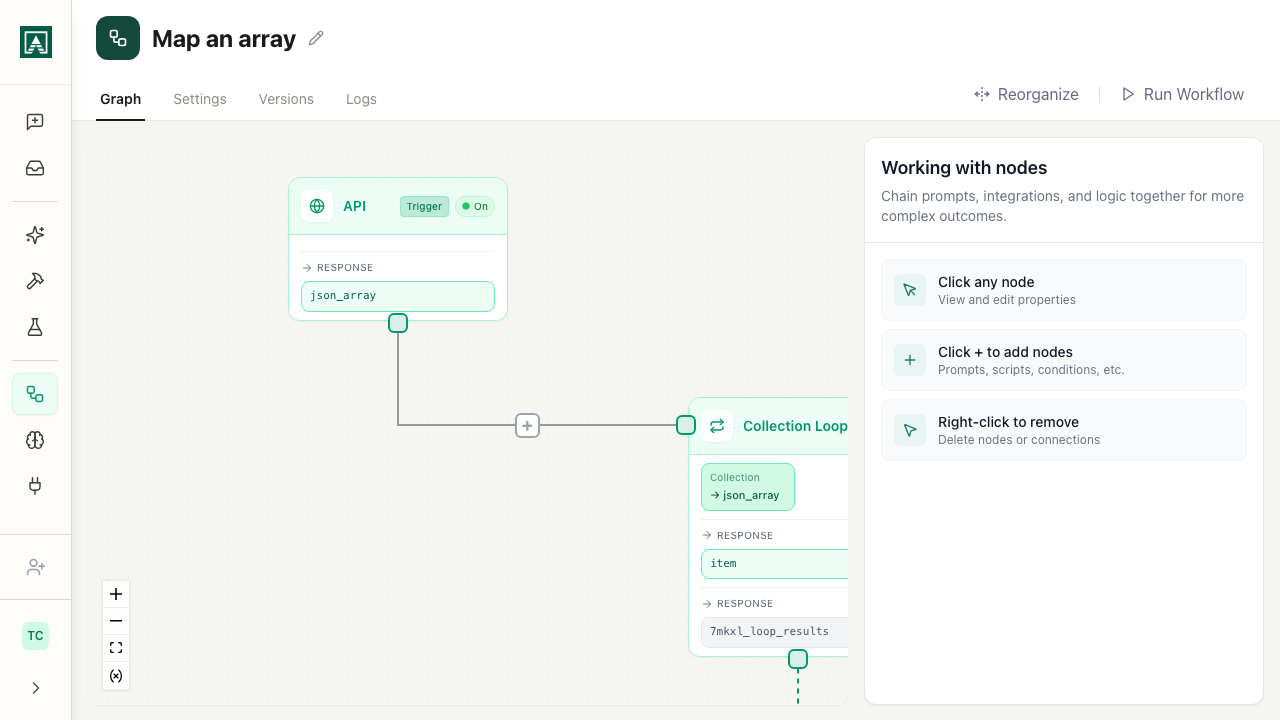
Multiple Node Types - Each node handles different tasks:
- Prompt nodes run AI prompts
- Condition nodes create branches based on true/false logic
- Loop nodes repeat operations over collections
- Memory nodes create/query persistent data
- Variable nodes transform and manipulate data
- Script nodes run custom code
- Integration nodes connect to external services
See Workflow Nodes for complete reference.
Data Flow - Information flows through your workflow like water through pipes. Each node receives data from previous nodes and passes its output to the next. By the end, you've accumulated all the context and results from every step.
Testing - Click "Run Workflow" to test with manual inputs before deploying. Watch nodes execute, inspect outputs, debug issues. See Testing Workflows.
Entry Points - Deploy your workflow via chat (team members run it from Aisle), API (external systems call it), or schedule (runs automatically). Build once, deploy everywhere. See Distributing Workflows.
Memories - Persist data between workflow runs. Build up context over time instead of starting from zero each run. See Memories.
Building Your First Workflow
- Click New Workflow
- Define inputs in the Start node
- Add nodes by clicking the + button
- Connect nodes to define execution flow
- Configure each node's settings
- Test with the Run button
- Share with team or create entry points to deploy
The real power of workflows is making them available to your team. Build the automation once, then anyone can run it with their own inputs -no need to understand how it works internally.
Workflow tabs
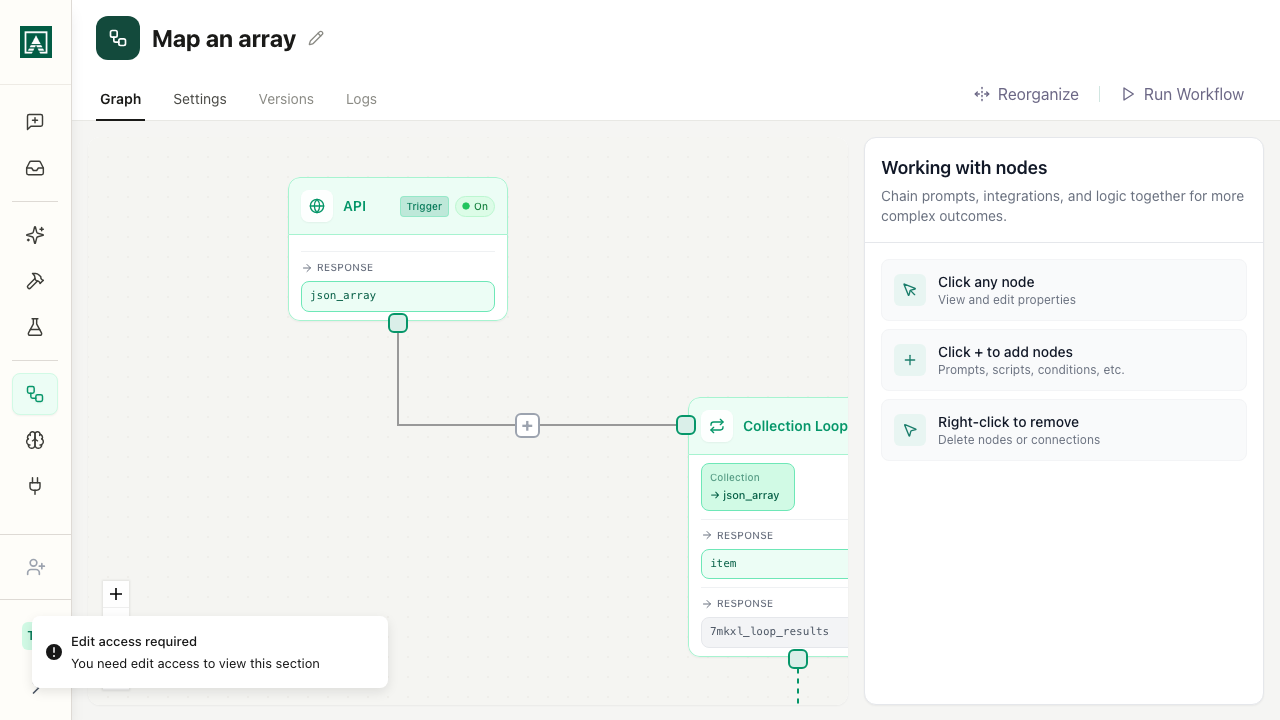
Each workflow has four tabs:
Graph - the visual canvas where you build and connect nodes.
Settings - workflow configuration:
- Name and description
- Icon (PNG, JPG, SVG, or WEBP, max 5 MB)
- Data Logging - when enabled, workflow inputs and outputs are recorded in the execution log. Disable for workflows that handle sensitive data.
- Library Access - controls who can view and edit the workflow: anyone in the organization, specific people, or only collaborators
Versions - full revision history. Every time a workflow is saved, a new version is created. You can view previous versions and restore earlier ones.
Logs - execution history for runs triggered via API or schedule entry points. Shows inputs, outputs, status, and duration per run.