Users & Invitations
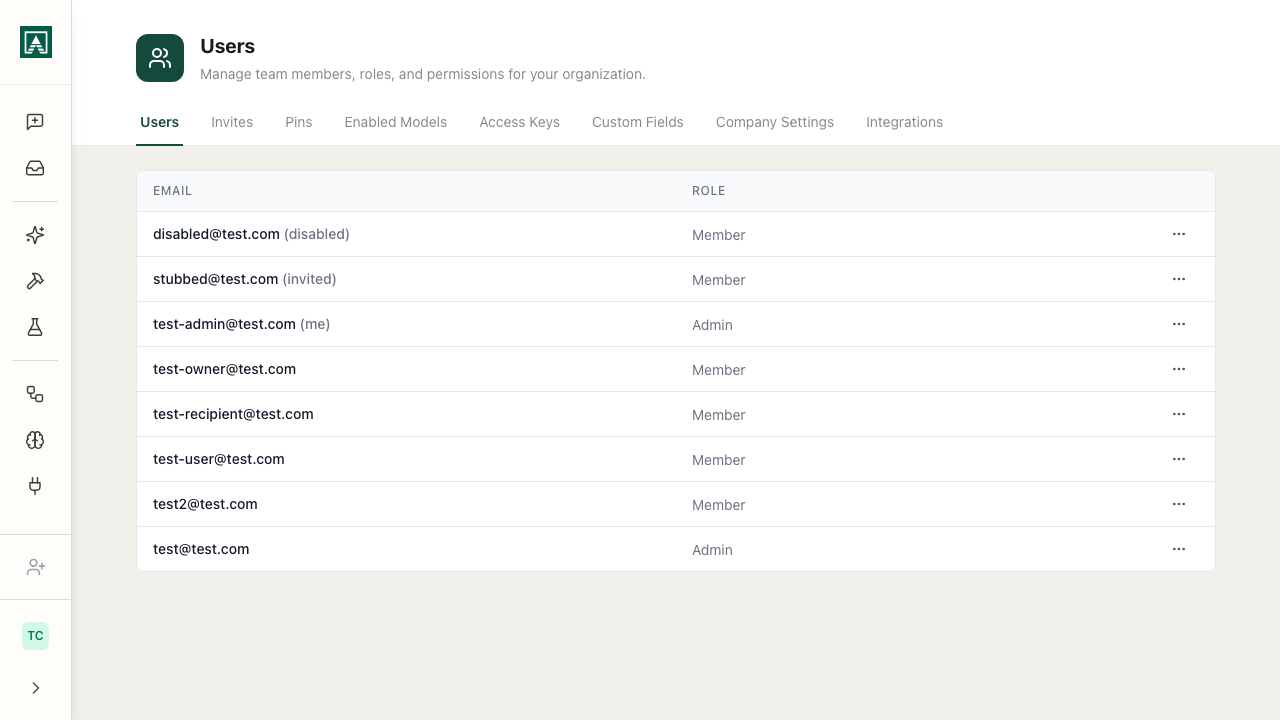
Manage team members, admin roles, and invitations from Org Settings. Users and Invites are two separate tabs.
Users
The Users tab lists everyone in your organization. Each row shows the person's email and their role (Admin or Member). Tags after the email mark accounts that are (invited), (disabled), or (me).
Open the ⋯ menu at the end of a row to act on that user:
- Grant admin / Revoke admin — change whether the person is an administrator. Admins have full control over the organization's Aisle configuration, so grant it carefully.
- Disable user — revoke access. A disabled user can't log in, but their data stays: any prompts, Tasks, Projects, and memories they created remain available to the organization. Use this when someone leaves the team.
- Enable user — restore access to a disabled account.
Granting or revoking admin and disabling a user ask you to confirm your identity before the change takes effect. You can't disable your own account.
Invites
The Invites tab handles people who aren't in the organization yet.
To send an invitation:
- Click Invite.
- Enter the person's email address.
- Click Send Invite. They receive an email with a link to join your organization.
Managing pending invitations:
The tab lists each outstanding invite with who sent it, when, and its status. Open the ⋯ menu on a row to:
- Copy Invite — copy the invitation link to share directly (useful if email delivery is blocked)
- Resend — send the invitation email again
- Cancel — remove the invitation
Invitations can expire. An expired invite shows an expired status; use Resend to issue a fresh link.
Offboarding
To remove someone's access, open the Users tab, find their row, and choose Disable user. Their prompts, Tasks, Projects, and other content stay accessible to the organization.