How to write effective AI prompts starts with understanding what each part of a prompt does and why it matters, then actually deploying them so your team can use them. This guide walks through prompt engineering best practices while we build a real prompt from scratch in Aisle: an article summarizer. The principles apply to whatever you're building; we're using Aisle so you can go from idea to production (chat, API, workflows) in one place.
The anatomy of a prompt
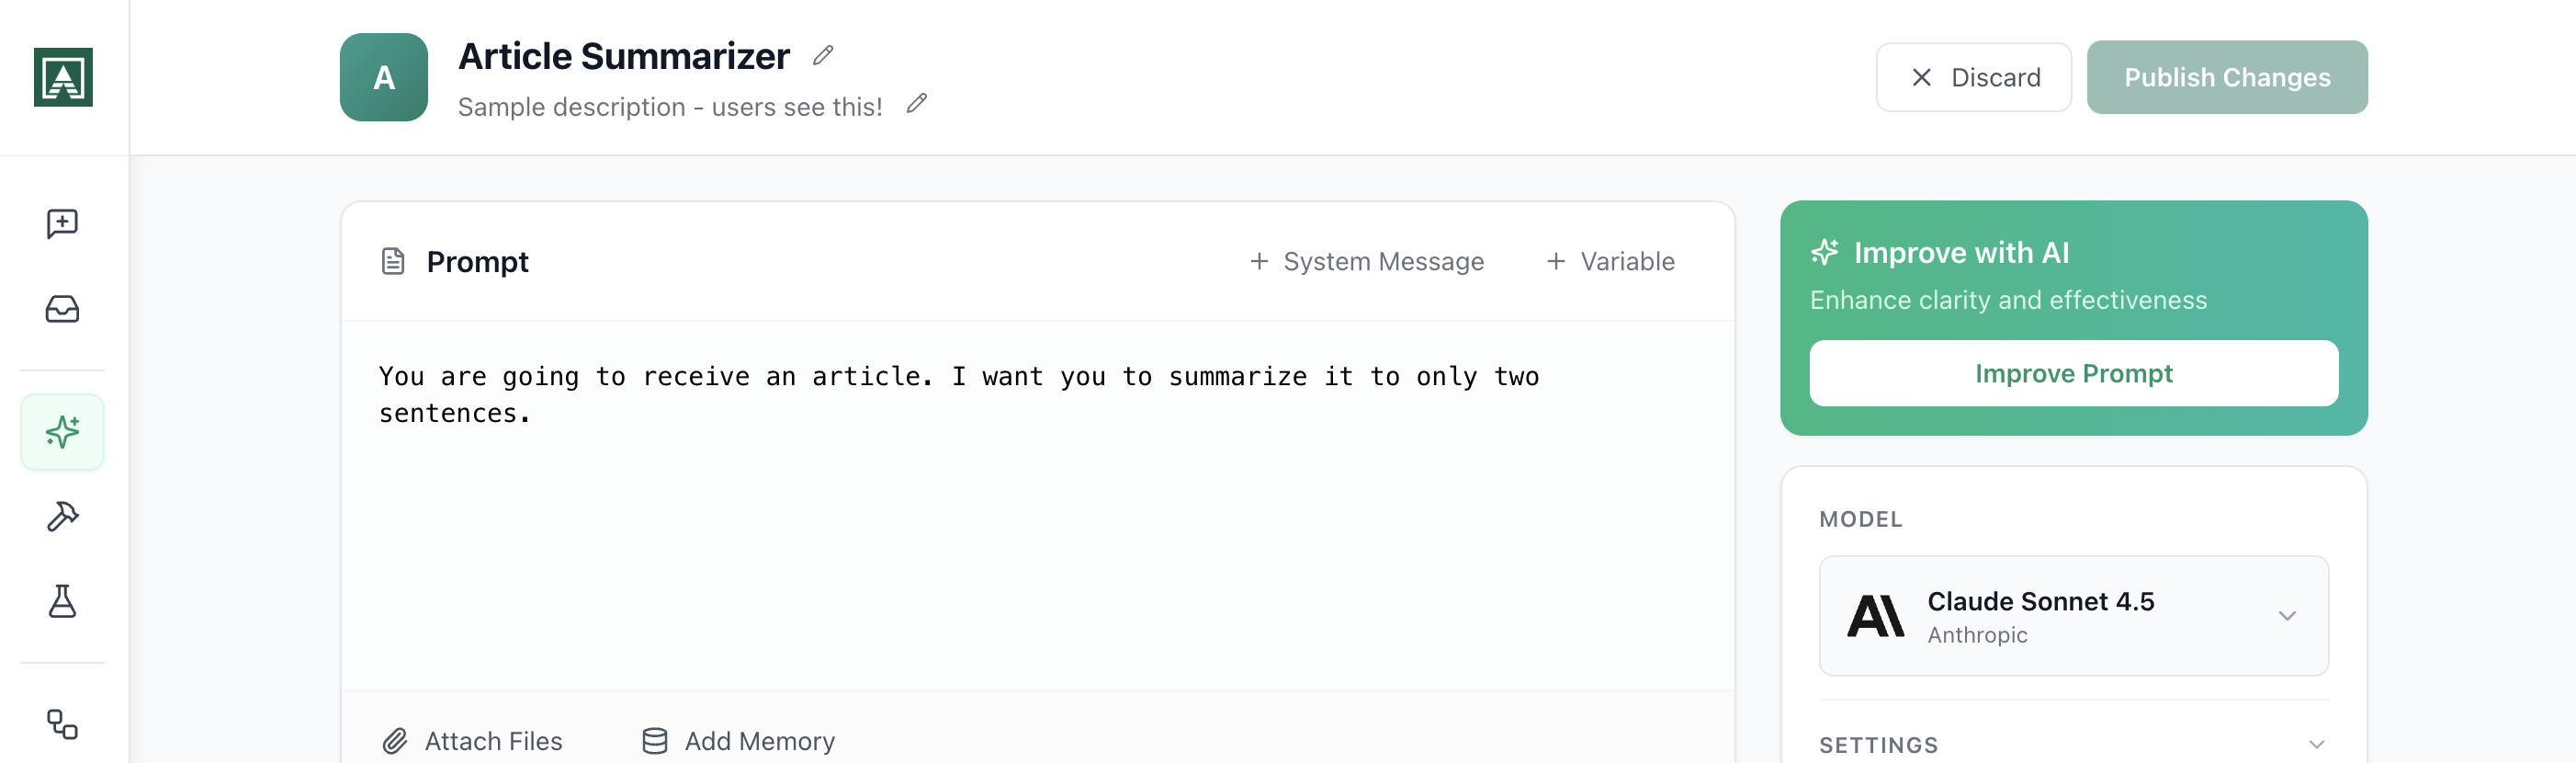
Head to the Prompts section and click "New Prompt." You'll see a form with several sections. Each one serves a specific purpose, so let's walk through them.
Naming and describing your prompt
First up: the name and description fields.
The name is straightforward. Call it something your team will recognize. "Article Summarizer" is better than "Test_Prompt_3" because in three months when someone needs to summarize an article, they'll actually find this.
The description is more interesting than it looks. Yes, it helps you remember what this prompt does. But if you share this prompt in chat (we'll get to sharing later), your teammates see this description when they're deciding whether to use it. Write something useful: "Condenses long articles into two-sentence summaries" tells someone exactly what they're getting.

You can change the icon too. This is purely visual, but when you've got twenty prompts in your library, icons help you scan faster.
The user message: The core instruction
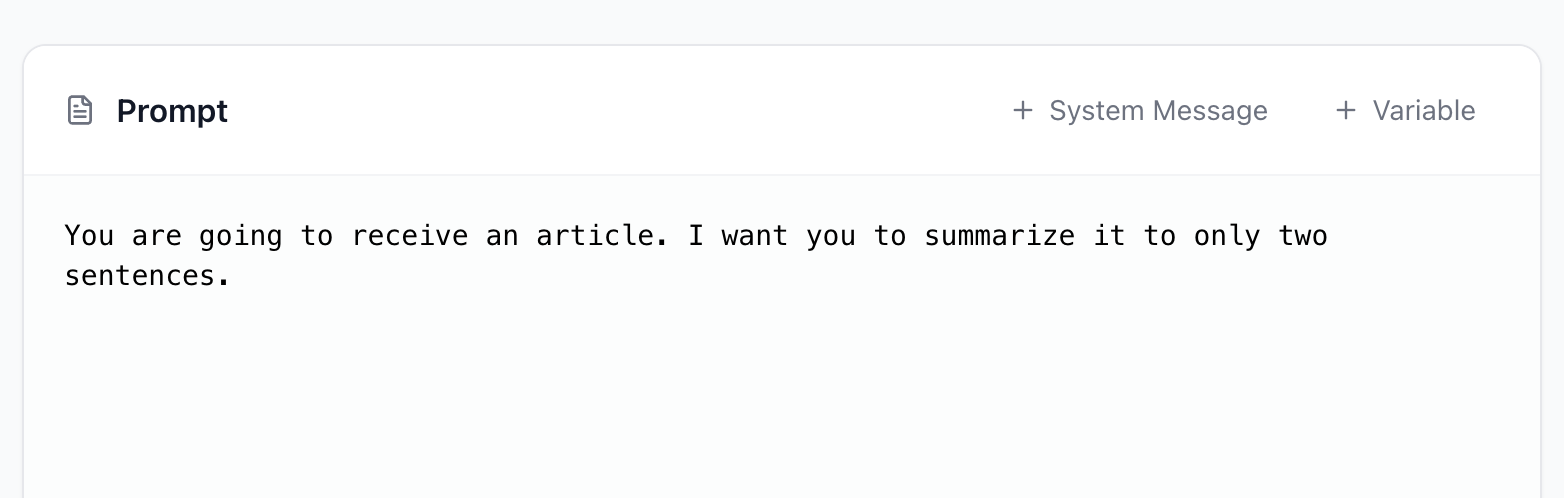
This is where the actual prompting happens. The user message is the instruction that runs every single time someone uses this prompt.
Let's write something basic:
You are going to receive an article. I want you to summarize it to only two sentences.
This works, but it's minimal. In real use, you'd add more detail. What should those two sentences focus on? Main argument? Key findings? Should the tone be formal or casual? The model generates text based on patterns it's seen, so the more specific you are about what you want, the more consistent your outputs will be.
For now, we'll keep it simple to focus on the mechanics.
Variables: The key to reusable prompts
Here's the thing: you don't want to paste a different article into this prompt every time you use it. You want the prompt to stay the same, but accept different inputs.
That's what variables do. Click "Add Variable" and you'll get a placeholder called variable. Rename it to something meaningful. In our case, article makes sense.
Now you can reference it in your user message:
The article to process: {{article}}
Those double curly braces tell Aisle "this is a variable, replace it with whatever value gets passed in."
When someone runs this prompt in chat, they'll provide the article text. When you call it via API, you'll pass the article in your request. When it runs in a workflow, the workflow provides it. The prompt itself stays consistent, the variable changes.
This is what makes prompts reusable. You write the instruction once, then use it hundreds of times with different inputs.
System messages: Setting broader behavior
You'll see a "System Message" section below the user message. This is optional, but useful for certain cases.
The system message sets the overall behavior or role for the model. While the user message is the specific task ("summarize this article"), the system message is the broader context ("you are a technical documentation expert" or "always respond in valid JSON format").
For a simple summarizer, you might not need this. But if you're building something like a customer support prompt where tone and format matter across many different questions, the system message is where you'd set that baseline.
Attaching files and memories
See the "Attach Files" and "Attach Memories" options? These let you give the model permanent context that's available every time the prompt runs.
Let's say you're building a prompt that answers questions about your product. You could attach your product documentation as a file here. Now every time someone asks a question, the model has access to that documentation without you needing to paste it into every single request.
Memories are stored markdown files that you can load into any prompt or workflow. Think of them as easy markdown storage and sharing for AI. You might have a memory containing your company's style guide, product specs, or terminology. Attach it here, and it's available every time the prompt runs. Memories can also be created and edited by other prompts and workflows, so they're useful for building up context over time.
The key difference from variables: files and memories attached here are permanent. They're part of the prompt itself. Variables are temporary, they change with each use.
Choosing and configuring your model
On the left side, you'll see model selection. Each model has different strengths, speeds, and costs. You can find a full list of available models on the Model Page.
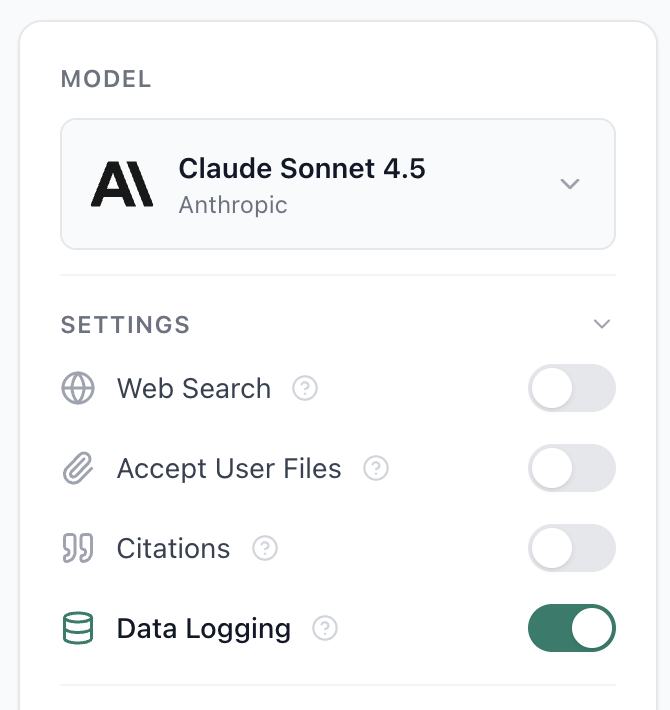
If you're not sure which to use, start with something like Claude 3.5 Sonnet. It's a good balance of capability and speed for most tasks. You can always change this later (and we'll talk about versioning in a bit).
Once you pick a model, you'll see settings specific to that model. Let's break down what these actually do:
Web search: This lets the model pull in current information from the internet. For our article summarizer, we don't need this because we're providing the article. But if you were building a prompt that answers questions about recent events, you'd turn this on.
Allow file uploads: This determines whether users can attach files when they run the prompt. Maybe your article summarizer should accept PDFs. Turn this on, and users can upload a PDF article instead of pasting text.
Citations: When enabled, the model will cite which parts of your provided context (attached files, uploaded documents) it's pulling information from. Useful for research or legal use cases where you need to trace claims back to sources.
Data logging: This controls whether Aisle saves the actual inputs and outputs when people run this prompt. Turn it on if you want to review responses later to improve the prompt. Turn it off if you're processing sensitive data and privacy matters more than iteration.
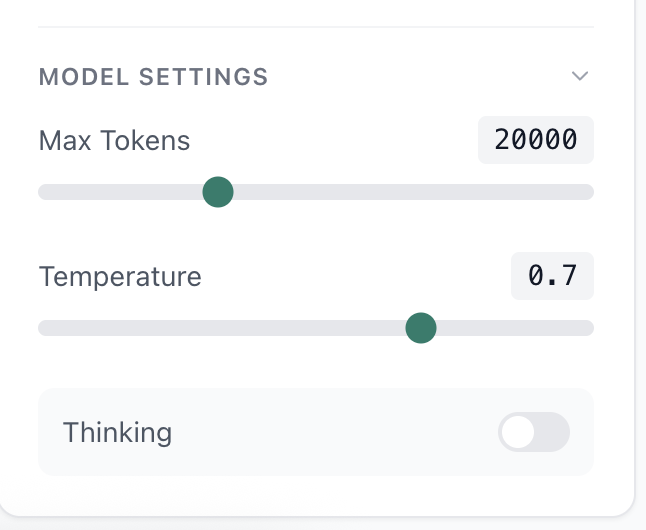
You'll also see temperature and max tokens settings. Temperature controls randomness. Lower values (like 0.2) make outputs more consistent and predictable. Higher values (like 0.8) make outputs more varied and creative. For a summarizer, you probably want low temperature so you get consistent summaries.
Max tokens limits how long the response can be. The model generates text token by token (roughly, a token is a word or word fragment). If you set max tokens to 100, the response cuts off around there. For a two-sentence summary, you don't need much.
Connectors: Accessing external tools
The Connectors section shows MCP servers you've set up. These are integrations with external services like Asana, GitHub, or your own internal tools.
For our article summarizer, we probably don't need connectors. But imagine you're building a prompt that summarizes your team's daily Asana activity. You'd enable the Asana connector here, and the prompt would have access to pull that data when it runs.
Connectors are how prompts become more than text processors. They can read from and write to your actual tools.
Structured output: Forcing a format
Some models support structured output, which forces the response into a specific JSON schema. This is incredibly useful when you're calling prompts via API and need to parse the response programmatically.
Instead of getting back natural language that you then have to parse, you get back a predictable JSON object every time. For a summarizer that feeds into another system, you might define a schema like:
{
  "summary": "string",
  "key_points": ["string"]
}
Now every response fits that exact format.
Display message: Cleaning up the chat interface
Here's a subtle but useful feature. When someone runs your prompt in chat, they see the user message by default. If your user message is three paragraphs of detailed instructions, the chat gets cluttered fast.
The display message lets you show something cleaner:
Summarize this article
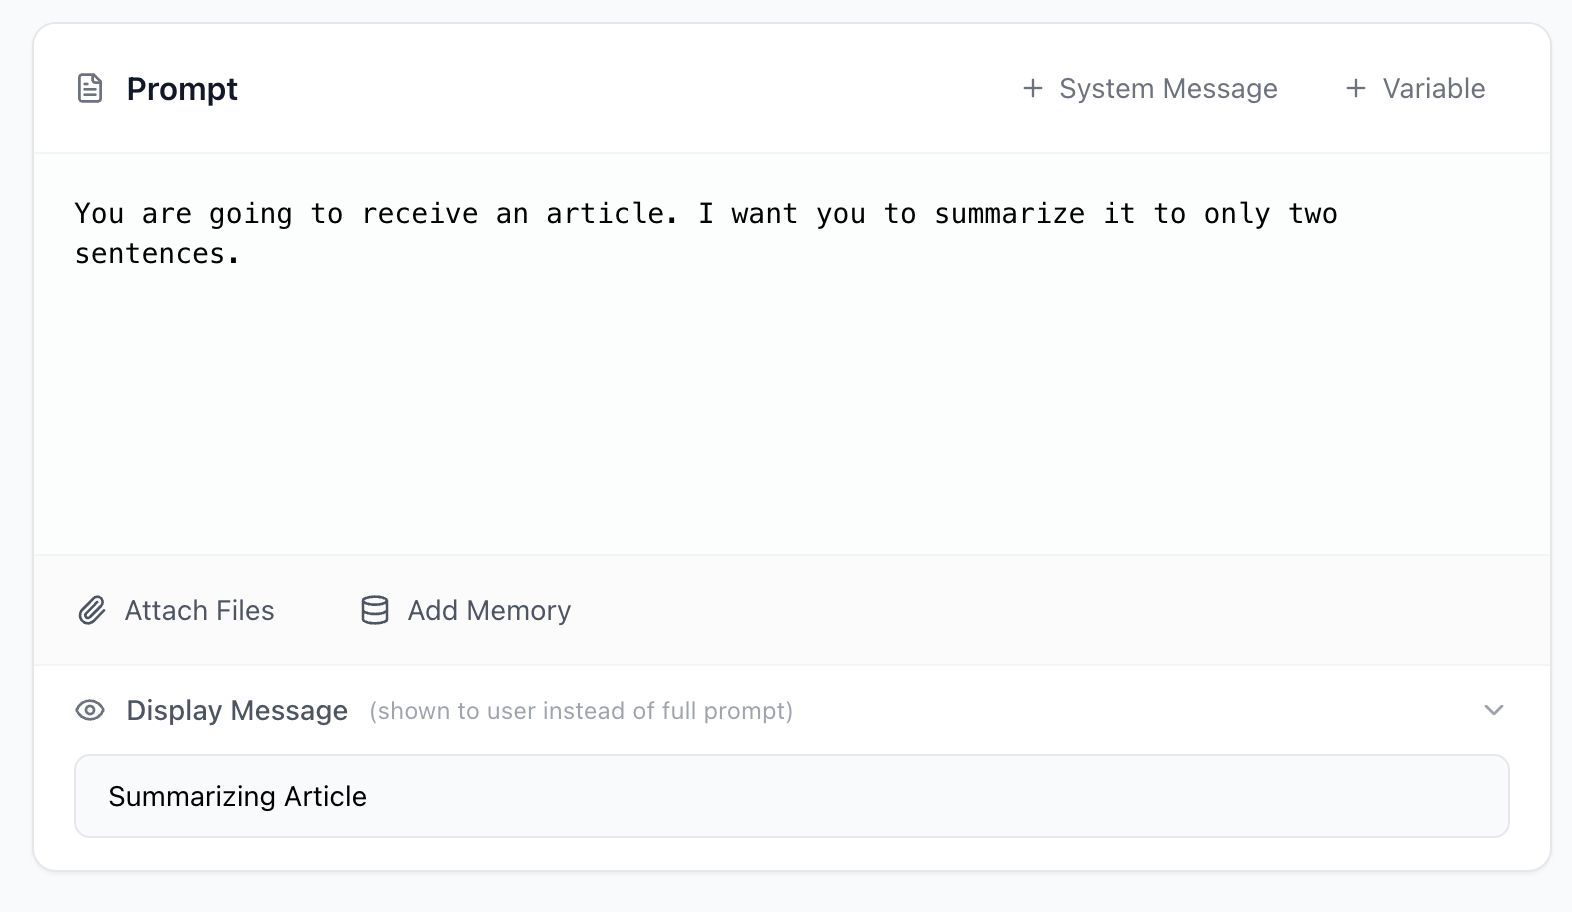
That's what appears in the chat. The model still receives your full detailed user message behind the scenes, but your chat stays readable.
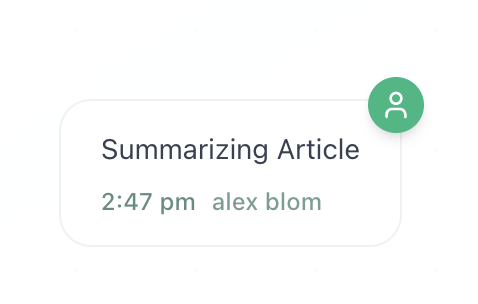
Think of this as the difference between what the user sees and what the model processes. They don't need to be the same.
Logs and versions: Improving over time
Once your prompt is live, two features become critical: logs and versions.
Logs show you what's actually happening
The Logs tab shows every execution. When did it run? How many tokens did it use? How long did it take? If you have data logging enabled, you'll see the actual inputs and outputs.
This is how you spot problems. Maybe the prompt works great for short articles but fails on long ones. Maybe it's using way more tokens than expected. Logs tell you what's really happening versus what you thought would happen.
Versions let you iterate safely
Every time you edit and save the prompt, Aisle creates a new version. Changed the model from Sonnet to Opus? New version. Tweaked the temperature? New version. Rewrote the entire user message? New version.
This matters because prompts break. You'll make a change that seems smart, deploy it, and discover it's producing garbage outputs. With versions, you can roll back to yesterday's working version immediately and see exactly what changed.
You're not guessing what broke. You're looking at a diff.
That's the difference between prompting in a playground and prompting in production. Once you know how to write AI prompts this way, you can replicate the pattern for the next one.